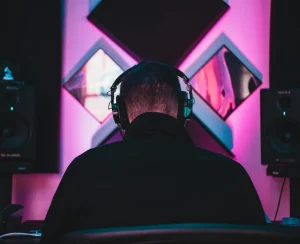
Ever struggled to hear what actors are saying in a movie, only to be blasted by an explosion? Or maybe you’ve noticed the audio in your own videos sounds a little…off? You’re not alone! One of the most common questions in film, video, and commercial production is: How loud should my dialogue be? It’s a deceptively simple question with surprisingly complex answers.
Getting your audio levels wrong can ruin your entire production. Dialogue that’s too loud can clip and distort, even on high-quality recordings. Levels that are inconsistent create a jarring experience for the viewer. The goal here is to provide some clarity on dialogue loudness. We’ll look at real-world examples and industry standards.
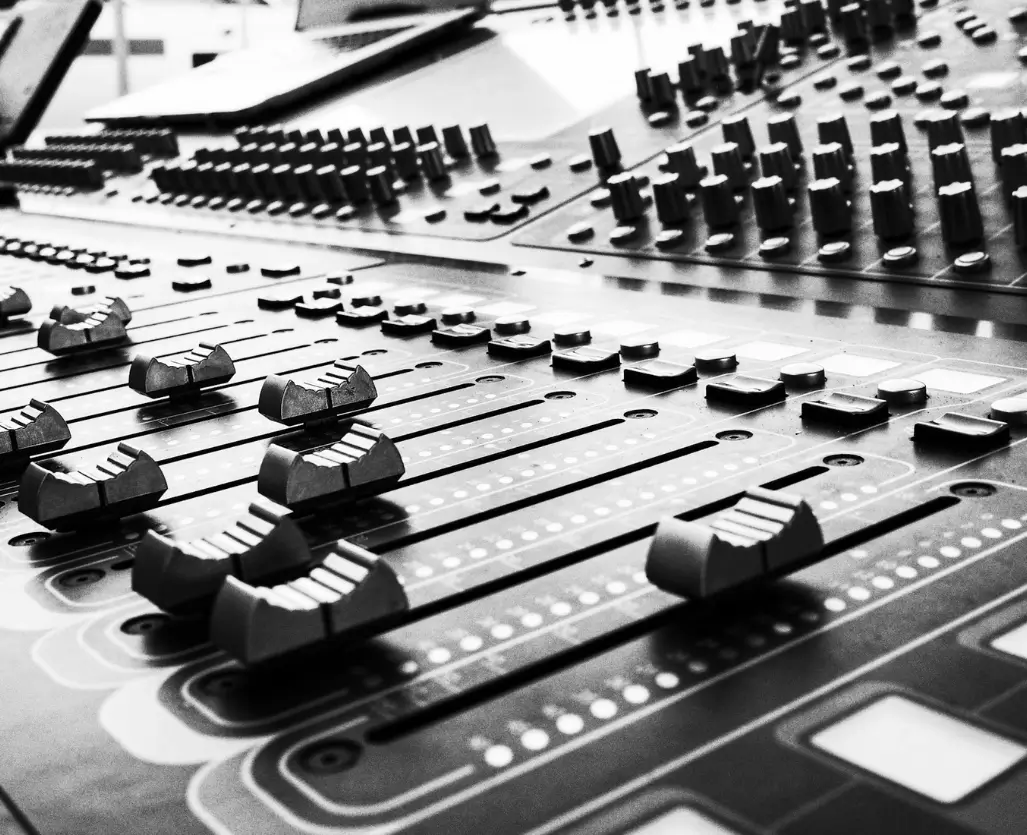
Avoid Audio Clipping
First things first: Avoid clipping at all costs. What is clipping? It happens when an audio signal exceeds the maximum level that a system can handle. This results in a harsh, unpleasant distortion.
Think of it as overfilling a glass of water. Once it’s full, any extra water spills over the edge, creating a mess. In audio, that “mess” is digital distortion. Clipping is a sign of unprofessional audio mixing and can even cause playback issues.
Sometimes, people turn in projects where the dialogue is clipping, even in calm scenes with two people talking! This can happen even with 32-bit recordings.
It’s important to understand the difference between audio compression and clipping. Dialogue should be compressed. Compression reduces the dynamic range. It makes sure that the dialogue is audible without being too quiet or too loud. However, dialogue should not be pushed so hard that it exceeds the maximum level and causes clipping.
How Do You Know If Your Dialogue is Too Loud?
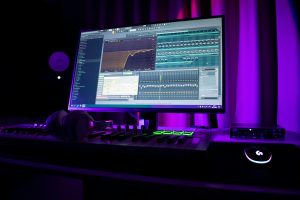
That’s where LUFS comes in. LUFS stands for Loudness Units Relative to Full Scale. It’s the standard measurement for perceived loudness.
LUFS is an average measurement. It reflects how loud something sounds to the human ear. To measure LUFS, you’ll need a metering plugin. iZotope’s Insight is a popular option. You can check out the iZotope Insight plugin to learn more. There are many other affordable alternatives.
LUFS values are measured using negative numbers. The closer to zero, the louder the audio. Music on the radio is usually around -6 to -10 LUFS. This is very loud and compressed. Movies and TV shows have a more dynamic range. This means that dialogue sits at lower LUFS values.
How Does LUFS Work?
To understand how LUFS works in practice, let’s look at some real-world examples. We’ll analyze three different shows from Netflix. This will demonstrate varying levels.
Jupiter’s Legacy
First up is Jupiter’s Legacy. In the intro scene, there’s an overhead shot of kids playing. Ambient music plays, and the kids are yelling. The LUFS measurement during the ambient music is -32 LUFS. When the kids are yelling, it’s -26 LUFS.
This is much quieter than commercial music. Why? Movies, especially cinematic ones, have a wider dynamic range. Dialogue sits in the middle. This leaves room for louder sound effects.
Later in the show, there’s a superhero landing. This is a dramatic, loud sound effect. The LUFS peaks around -10 LUFS. The momentary LUFS is around -6.5. This peak loudness is where limiting comes into play. Sound effects are supposed to be loud!
Sons of Sam
Next, we have Sons of Sam, a serial killer documentary. The waveform of this show is “fatter” and more consistent. Documentaries and TV productions are often more compressed. A typical LUFS measurement for dialogue in this show is -25 LUFS.
Documentaries prioritize clear dialogue because there’s a lot of talking. Spikes in loudness still exist. However, the overall dynamic range is smaller than that of cinematic productions.
Startup
Finally, let’s look at Startup, a dramatic show. In the opening scene, a character is running on a treadmill. The LUFS measurement is -21.6 LUFS. This is a medium-loudness level.
To summarize, we’ve observed a range of loudness:
- Very soft (ambient): -30 LUFS
- Medium (dialogue): -20 to -26 LUFS
- Peak (loud effects): approaching -10 LUFS
Achieving Optimal Dialogue Loudness
How can you achieve optimal dialogue loudness in your own productions?
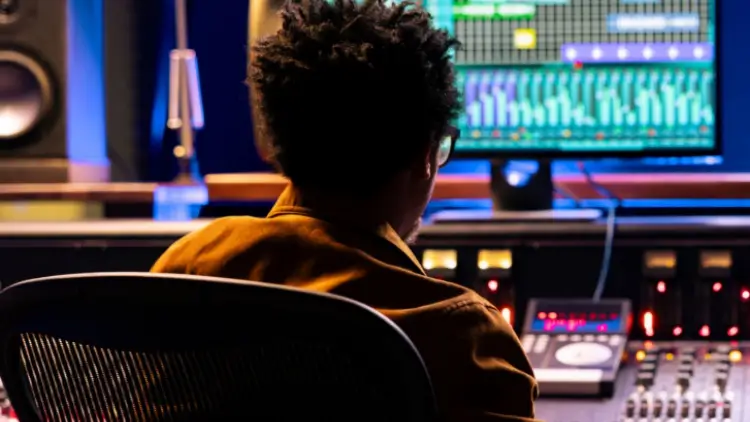
It’s important to collaborate with experienced audio professionals. They understand dynamic range and loudness standards.
Excessively limiting dialogue can cause problems. It can cause distortion on home theater systems and makes it difficult for composers to mix music effectively.
Film festivals present a unique challenge. Loudness levels can vary wildly. Consider having an alternative mix for these situations.
A good mix should be dynamic, with soft and loud moments. Compression is good for clarity. But don’t sacrifice dynamic range.
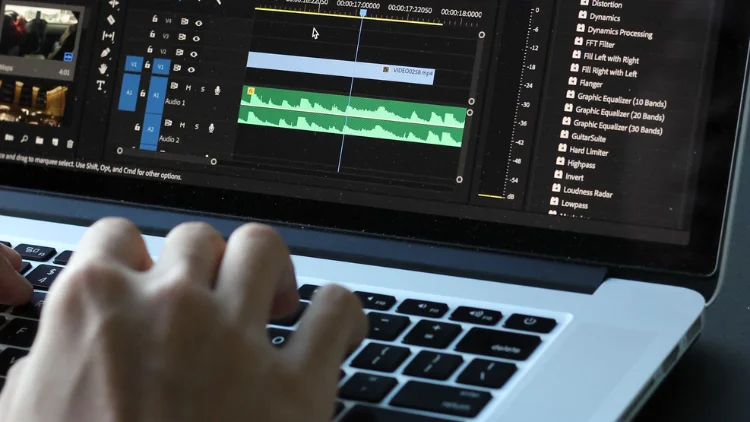
What Are the Best Audio Levels for Video?
If you want to edit your own videos, the following tips will be useful to you, especially if you need to deal with the audio balance of dialogue, music, and sound effects.
These audio level recommendations are universal standards in video editing and apply to most scenarios. Whether you are making a vlog, short film, or commercial video, following these guidelines will make your work sound more professional. If you are using professional editing software (such as Adobe Premiere Pro, Final Cut Pro, or DaVinci Resolve), these software provide powerful audio tools to help you achieve these settings.
As a general rule, your audio should stay between -24dB and -8dB for optimal clarity and balance.
If your video includes dialogue, aim to keep it around -18dB to -9dB. This range ensures that speech is clear and easy to understand without being overpowering.
When adding background music, consider setting it between -18dB and -22dB if it’s the main audio element. However, if the music is playing alongside dialogue, lower its volume to around -30dB to -35dB. This keeps the music subtle and prevents it from distracting from the spoken content.
For sound effects, aim for a range of -10dB to -20dB. Anything louder can cause distortion and disrupt the overall audio balance. To achieve the best results, use a reliable pair of headphones while editing to monitor the audio closely.
Throughout the editing process, keep an eye on the audio levels across all clips in your timeline to ensure consistency. Pay special attention during the final review, watching the audio panel carefully to catch any irregularities.
Understanding audio levels is key to making great videos. Need some top-notch music to mix into your video but don’t know where to find it? Try Tempolor.
Read more: How to Make a Sound on TikTok
Our catalog is high-quality, affordable, and secure. A Tempolor subscription goes beyond no copyright music and takes away the hassles of licensing, giving you the freedom to do what you do best. You get the security of our licenses, and our massive catalog of 200,000 tracks covers just about every genre you can think of. You also get unlimited access to our advanced search features – finding the right sound has never been easier.
It’s better than royalty-free, and hassle-free. Get started with Tempolor now.